Key Takeaways:
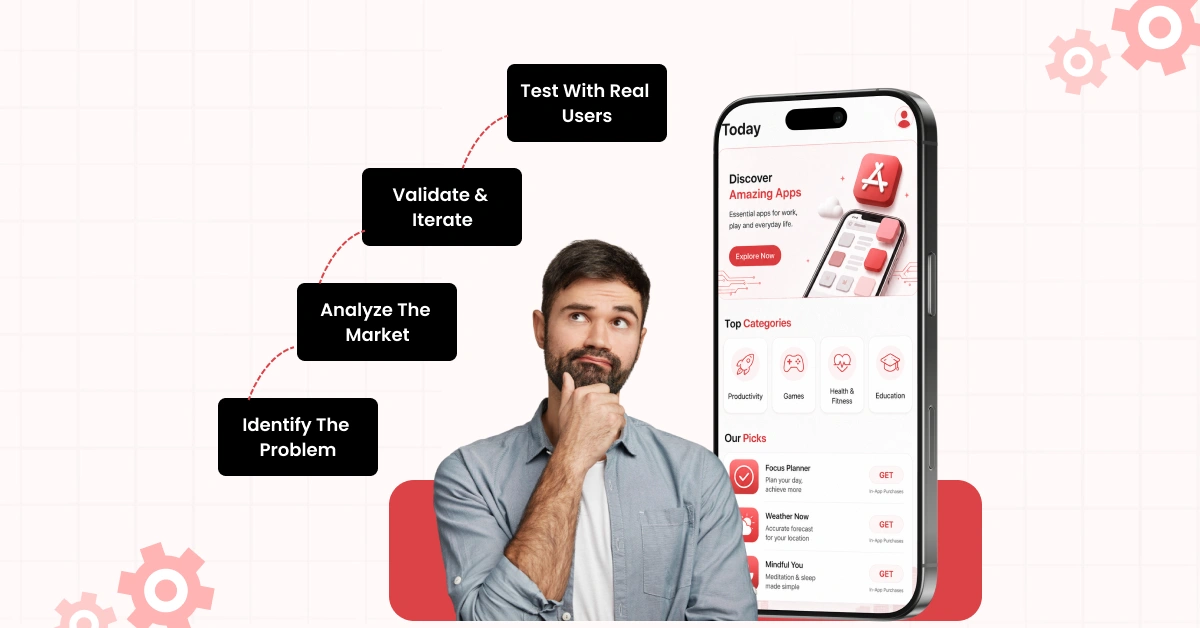
- To validate your app idea, you should define the core problem, check the market demand, analyze the competitors, find the niche app, talk to 10-20 real customers, and then launch the app.
- Skipping validation is the most expensive mistake that a founder can make because it leads to building the wrong product, delays market entry, increases the development costs, and increases the risk of business failure.
- When your app gets validated, you should immediately move on to building a simple prototype and securing early commitments from users.
- Connect with Nativly and create your own prototype in a few clicks. Here, you can mention the prompt and turn your idea into a success with simple language.
Do you have a business idea and imagine thousands of users downloading it?
Well, before you proceed with the app idea, validate it in the market.
Thus, a crucial question that arises is “how to validate your app idea before building it?”
To validate the app idea, you should define the core problem, check the market demand, analyze the competition, find the niche gap, talk to 10-20 real-time users, create a notional product, and then launch an MVP.
Well, this is not sufficient; you should know the steps after validating your app idea, too.
Hence, without further ado, let’s get started.
What Does It Mean to Validate an App Idea?
Validating an app idea means testing whether your concept solves a real problem for a real audience and confirming there is actual market demand before you spend time and money building it.
The validation involves proving demand, shifting from guesses to facts, and testing the willingness to pay.
Validation matters because it saves money and time. It involves gathering evidence through research, conversations, and small experiments that a genuine market exists for the problem you’re solving.
Here, many startups often ask, “When should you validate your app idea?”
The short answer to this question is: before writing any code for your project. It simply means before you pick a tech stack, before you scope the right features, and even before you build a pitch deck based on assumptions.
If you are still confused about the reasons to validate the idea before building it, then checking the next section can be helpful.
Why Skipping Validation Is the Most Expensive Mistake that a Founder Can Make
Many reasons why skipping validation is the most expensive mistake that a founder can make, because it leads to spending months building a product that solves a problem nobody actually has.
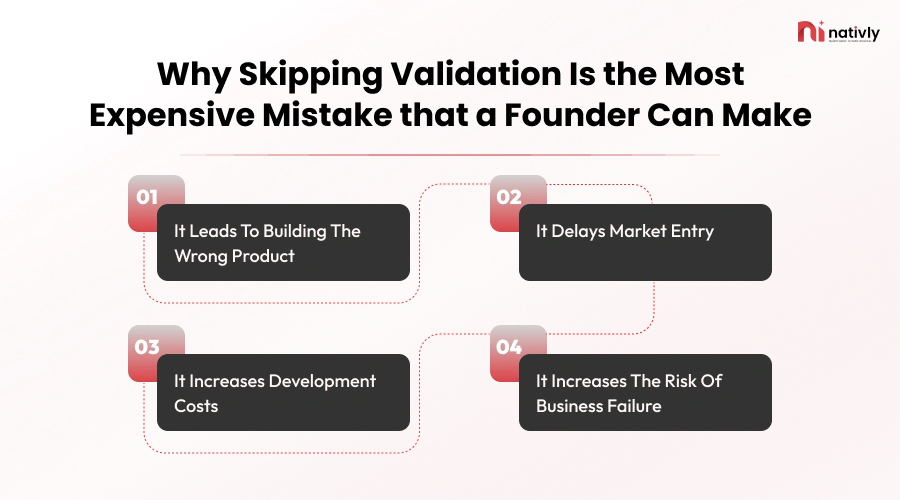
Skipping market validation is the most expensive mistake that a founder can make because:
- It leads to building the Wrong Product
Without validating the business idea, founders may create features that customers do not need or use. This further leads to failure of the project by letting you spend time and money on features or ideas that real users do not actually need or want.
- It Delays Market Entry
Skipping validation is the most expensive mistake because it results in delays in market entry, as you spend time and money building a product that target customers do not actually need.
- It Increases Development Costs
Skipping validation will automatically increase the development cost because fixing a finished product or rewriting flawed code costs significantly more time and money than testing an idea early.
- It Increases the Risk of Business Failure
Skipping validation will further increase the risk of business failure because you launch a product in the market that users do not generally prefer or demand. Other than this, they will not prefer to buy your product.
And if you are not clear about your app idea, this can result in app rejection.
Thus, you should go with idea validation before building the product. Let’s check out the complete list of steps in the next section.
How to Validate Your App Idea Before Building It
To validate your app idea, you should identify the core demands in the market, define the issue, analyze the competitors, find the gap, talk to potential users, and then identify where your audience is complaining.
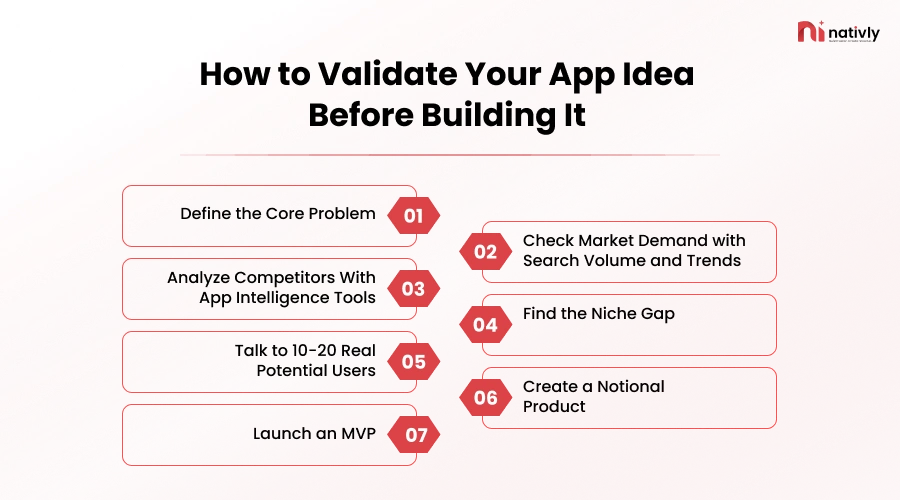
Here are the details of the steps to consider:
Step 1: Define the Core Problem
Defining the core problem means writing down the exact pain point that your target audience faces so you can confirm it is real before you build anything.
This is what you should do:
- Identify what you are trying to solve.
- Define the actual issues of the customers for whom you are creating the solution.
- Measure the impact of your solution, such as how much the consumer will spend and how much time and emotional energy they need to put in.
- Draft a one-sentence summary that combines the user segment, the pain point, and the impact into a single clear statement.
Step 2: Check Market Demand with Search Volume and Trends
You can check the market demand and search volume using the dedicated keyword and trend analysis tools.
Here’s what you need to determine:
- To evaluate the current trend, explore different social media platforms such as Reddit, Facebook, LinkedIn, and even Instagram.
- Focus on the pain points of the users.
- Talk to the real users in your industry who are using your competitors’ software and apps.
- Search for commercial user intent and keyword volume.
Step 3: Analyze Competitors With App Intelligence Tools
For analyzing competitors, list the competitors who are providing the same products or services as per your project. Then assess customers’ satisfaction level with those products.
This will help you to elaborate the market gap and your solution for your target users.
Here’s what you need to opt for:
- Use AI tools to understand your competitors with app intelligence tools.
- Benchmark the store performance through tracking download metrics and active user counts
- Analyze the keyword and ASO strategies.
- Review customer feedback and feature gaps, as well as track growth drivers and updates.
Step 4: Find the Niche Gap
Finding a niche gap means identifying an underserved problem or a frustrated customer group that existing apps often overlook.
To validate your app idea before building it, here’s what you need to know:
- Find the real user gap and test real user demands with zero code.
- Hunt for online complaints and analyze competitor reviews.
- Read the App Store and Play Store reviews, including poor reviews and repeated complaints.
- Discord and Slack communities, such as searching for message history for the same phrases.
Step 5: Talk to 10-20 Real Potential Users
You should conduct a practical review of potential customers and users from real people among your target audience to hear unfiltered stories. If your target size for the audience is small, you should go for one to one interview to know the user intent.
This is what you should opt for:
- You need a hyper-targeted outreach strategy that prioritizes high-quality, manual connections over automated spam.
- Connect with them through online platforms and via online interviews.
- State their core issues and explore the real reasons why it is all happening.
- Opt for a beginner’s mindset when you conduct an interview and ask questions for your target audience.
Step 6: Create a Notional Product
Before you sign a long-term contract for your project, make a notional product that is just a fake. Find the exact group of people who experience a painful daily workflow and already search for workarounds.
This is what you need to opt for:
- Create a simple one-page website with a clear deadline and an email sign-up box.
- Make a clickable prototype by using design tools like Figma to link screens together so that users can tap it.
- You can use AI to build the complete prototype, but ensure that it looks exactly like what you want to build as an end product.
Step 7: Launch an MVP
You can validate your app idea before building it by identifying a specific user problem and even testing the market demand with a simple landing page and waitlist. It basically means building only the core feature needed to test real market demand.
This is what you need to ensure:
- Include only the core feature for building your product.
- Choose speed over perfection.
- Set up the tracking metrics.
- Identify what parameters are capturing the user’s interest.
Note: Before you actually build an MVP, score against the validation scorecard: how many customers are actually facing the challenge today? Is it the app, or just the way they approach the issue?
If you are still confused about validating your app idea before you actually build it, opt for a 2-20-200 framework in the next section.
The 2–20–200 Framework
The 2-20-200 framework, which is a step-by-step startup idea validation method which is created to test the business concept for entrepreneurs.
This idea was created by entrepreneur Rob Walling to help founders test business concepts and reduce any uncertainty before spending months building a product.
The Complete framework that you should follow is:
2 Hours (Initial Research)
Research the core problem in the market that your business can resolve. This comprises checking search engine keywords, exploring online forums, and then running a quick evaluation to see if people are actively looking for a solution.
This is what you need to do:
- Define the Pain: In 10 minutes, you need to write down who is frustrated by the specific problem.
- It is a 5 PM framework that prioritizes problem, purchaser, pricing, market, product-founder fit, and the pain to validate.
- This is a popular burnout-proof productivity strategy that is designed to maximize deep work and cognitive peak.
20 Hours (Customer Conversations & Landing Page)
Now, in these 20 hours, it’s time to engage with potential customers.
Under this framework, you should remember, “Don’t tell me your idea; tell me what problem it solves and for whom.
This is what you should do within 20 hours:
- Talk directly to target users in your network or online communities.
- Pitch your value proposition on a simple landing page.
- Collect real email addresses to gauge real interest.
200 Hours (Minimum Viable Product)
In the next 200 hours, you should actually start building the MVP to start the iteration cycle. However, one important note is: only proceed with product development once you have gained the necessary confidence through the initial 2 and 20 steps.
Here’s what you need to opt for:
- Create a functional prototype or MVP and see whether people use it or pay.
- It should be a clickable prototype or a core workflow, only after you see strong, undeniable signals of demand during your customer conversations and even on the landing page.
- Start to code once you see strong, positive signals and real demand from previous steps.
Well, after your idea validation, what should be your next step?
For this, let’s check it in the following section.
What to Do Once Your App Idea Gets Validated?
Once your app idea gets validated, you should move forward with production and launch preparation.
Here is the complete list to follow once your app idea gets approved:
- Define the cost to build a mobile app.
- Identify what additional parameters and factors can impact your app idea validation.
- Start with an MVP, and then improve your app after monitoring it.
- Opt for a transition from testing and compliance to official public launch and growth.
If you face an issue with this, Nativly can help.
How Can Nativly Help?
Nativly is the best AI App Builder that helps users to build an AI app. With Nativly, you can validate your app idea by creating a prototype.
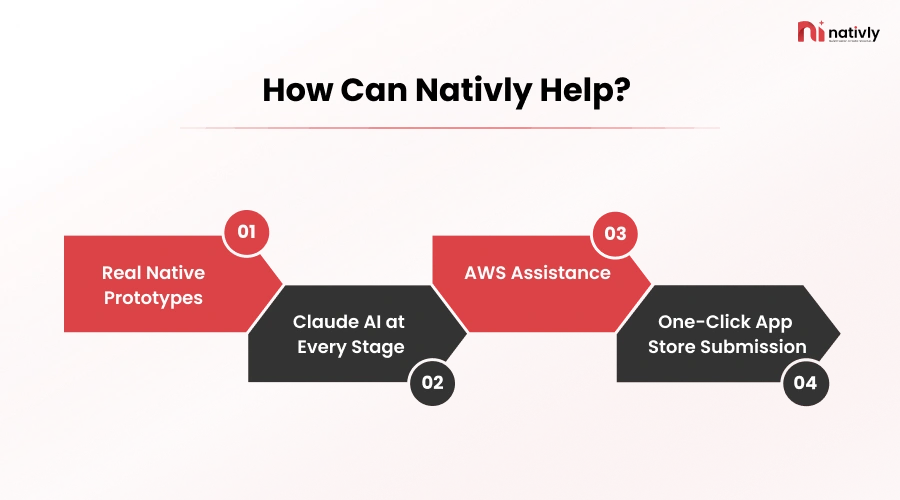
This platform offers advanced tools and techniques, helpful for understanding the app. The core features of Nativly are:
-
Real Native Prototypes
The platform helps you to create real-time prototypes to engage your target audience and users. It will allow your users to have real hardware access, live data integration, high realism, and even behavior-based logic. With Nativly, you can create engagement.
-
Claude AI at Every Stage
Natively AI acts as an end-to-end, AI-native orchestration engine that relies on Anthropic’s Claude AI to manage every stage of app development. You can create your MVP, app, or even the complete prototype through AI with Nativly.
-
AWS Assistance
Natively helps with AWS assistance because it avoids using any third-party software or external scripts. The platform understands the exact context of your workloads. Additionally, it eliminates infrastructure friction and offers seamless integration.
-
One-Click App Store Submission
You do not need another platform to submit the app; with one click, you can submit your app or any software to the App Store or Play Store. Thus, Nativly offers you a wide platform to create and deploy your software. It further helps with direct API integration, bypassing the complex toolchains.

Conclusion
To validate an app idea, you should define the core problem, check market demand, analyze competitors, find the niche gap, and talk to 10-20 real potential users; later, you can opt for an MVP launch.
Additionally, the key framework of 2-20-200 can be adopted for validating your app idea. It is a stepwise model that specifies a 2-hour, 20-hour, and 200-hour model. It is a model that helps founders test the software and business concepts in incremental time blocks.
After validating the idea, you should define the budget, start with an MVP, and define the additional parameters that impact the overall app idea. Here you can connect with an AI app builder such as Nativly to create a prototype.
FAQs
Q1. How to validate your app idea before building it?
To validate your app idea, you should define the core problem, check the market demand, analyze the competitors with app intelligence tools, identify the niche gap, talk to 10-20 real potential users, create a Notion product, and then launch an MVP.
Q2. Why is skipping validation the most expensive mistake that a founder can make?
Skipping validation is the most expensive mistake that a founder can make because it leads to building the wrong product, delays market entry, and increases the overall development cost. It further leads to building for a ghost market, rapid runaway depletion, and results in high failure rates.
Q3. What is a 2-20-200 framework, and when to use it?
2-hour framework means doing a rapid validity check on the core concept. It is assessing your app idea through the 5 PM framework that comprises the problem, purchaser, pricing model, market, and product-founder fit.
Q4. What does it mean to validate an app idea?
For app idea validation, you should test it with real users before you spend time and money building it. Validation of an app idea is important because it saves money, saves time, and helps you find flaws.
Q5. How can an AI app builder app be helpful here?
AI app builder app like Nativly can be helpful because it will allow you to create a rapid prototype, and here you can perform concept pressure testing, interactive user testing, and low-cost iteration.